The Updating SpamSieve and Mail Settings for macOS 14 Sonoma topic has lots of information about the transition from macOS Ventura to macOS Sonoma and from SpamSieve 2 to SpamSieve 3. This page is for people who had SpamSieve 2 installed on Ventura, have already updated macOS and SpamSieve, and just want a quick list of steps to get up and running again. If you have more questions or a non-standard setup, please see the other topic.
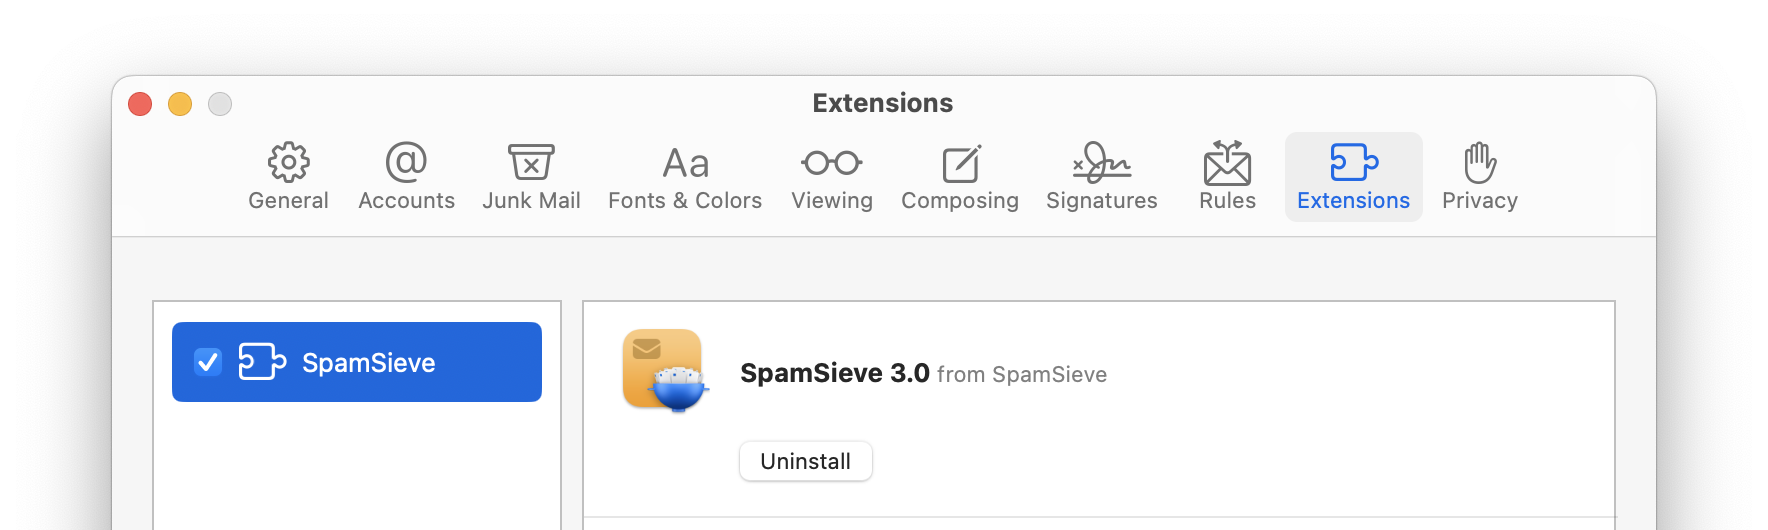
- In Mail, open the Settings window and click on the Extensions tab. Check the box to enable SpamSieve. Click Turn On when prompted.
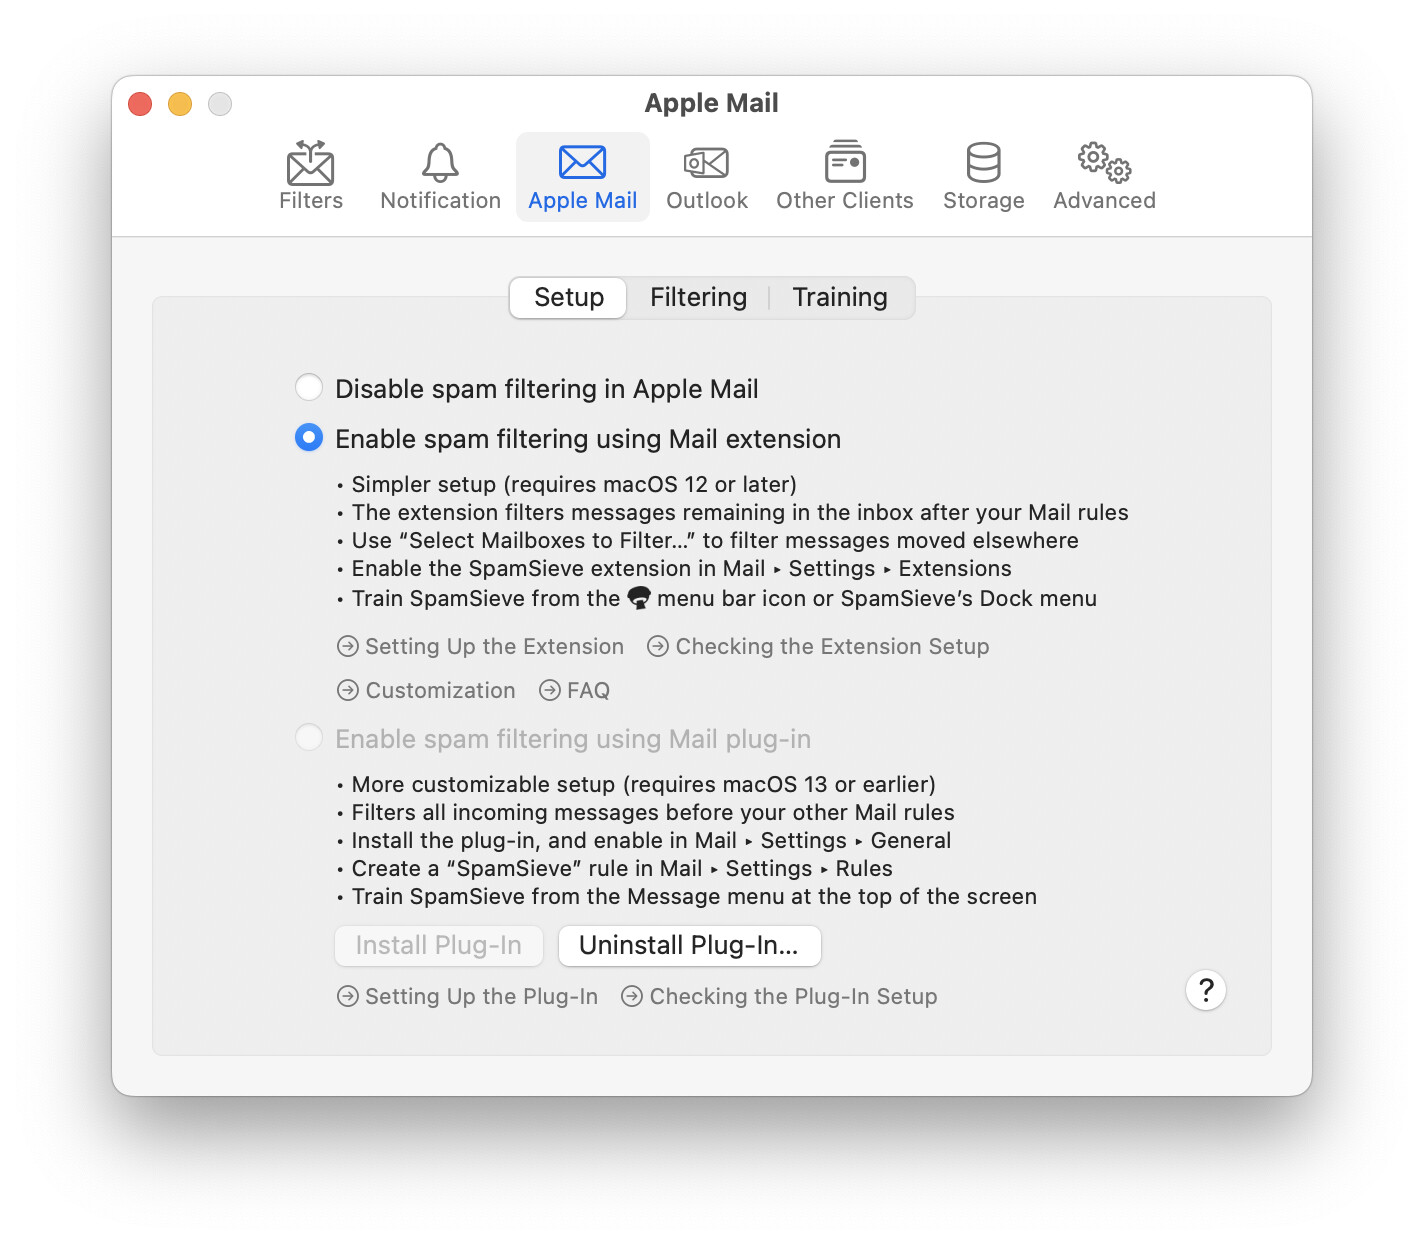
- In SpamSieve, go to Settings ‣ Apple Mail ‣ Setup and click the Uninstall Plug-In button. Do what it recommends.
-
In Settings ‣ Apple Mail ‣ Setup, click Enable spam filtering using Mail extension.
-
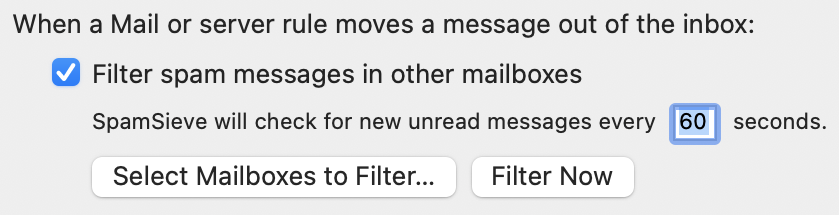
In Settings ‣ Apple Mail ‣ Filtering, select Filter spam messages in other mailboxes. Click Select Mailboxes to Filter…. If you have any rules in Mail or on your server that move messages from the inbox to other mailboxes, and you want those mailboxes to have spam filtered out, select them here. This filtering is not immediate. If a mailbox contain lots of messages (more than a few thousand), move the older ones to an unfiltered mailbox so that they don’t slow down the filtering.
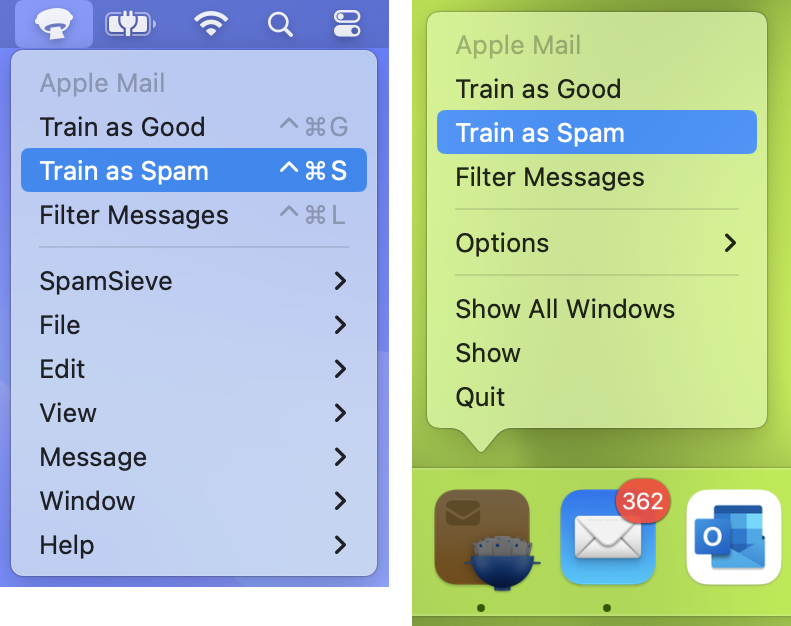
- SpamSieve does not need to be retrained. Going forward, you should continue to correct any mistakes. The training commands have moved from the Message menu in Mail to the SpamSieve menu bar icon and SpamSieve Dock menu (if you click and hold on the Dock icon).
- Incoming spam messages will now be moved to the Junk mailbox. There is a separate setting for where to move trained spam messages, e.g. if you were not having trained messages move to Junk before but would now like to do that.