See also: Quick Start to Keep SpamSieve Working With Apple Mail When Updating to macOS 14 Sonoma.
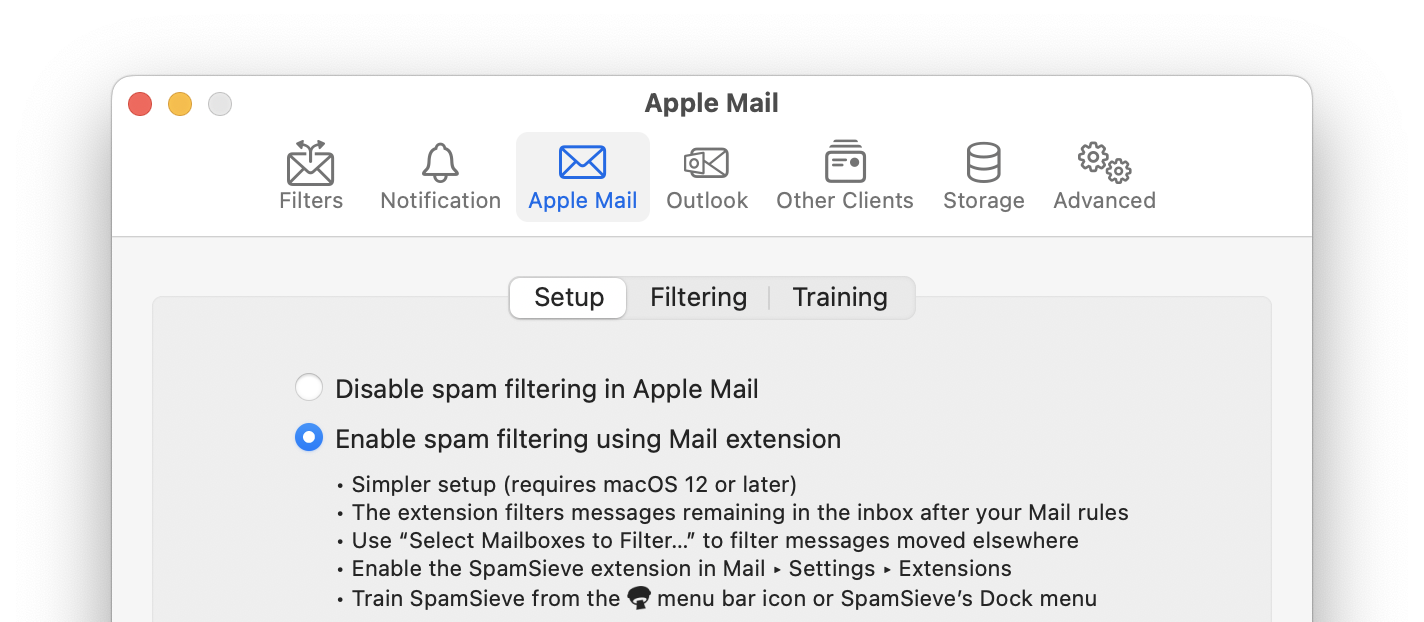
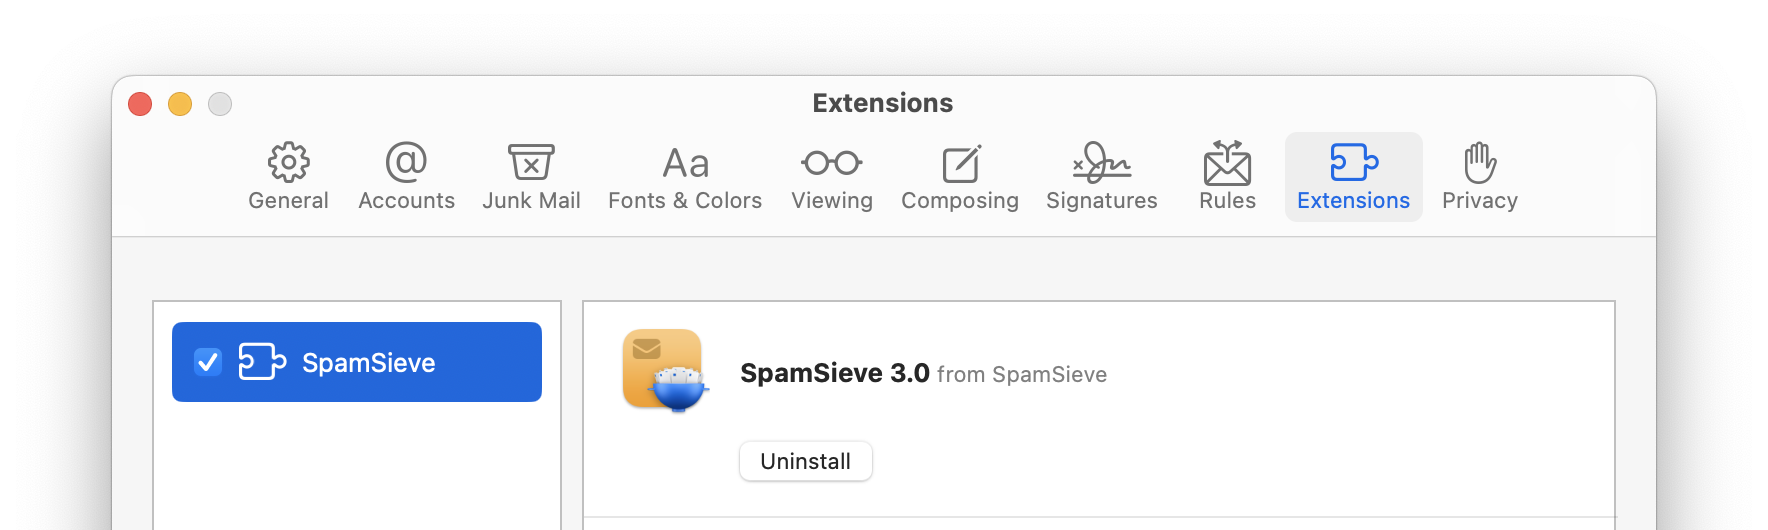
On Tuesday (9/26), Apple will release macOS 14 Sonoma. This includes a big change in Apple Mail. Apple is removing support for Mail plug-ins, which were there from the beginning with Mac OS X 10.0 and have been used by SpamSieve for almost 20 years. Last week, we released SpamSieve 3, which includes a Mail extension that works with the new version of Apple Mail in Sonoma. While there are some changes to be aware of, this new architecture makes it much easier to set up SpamSieve and ensures that it will keep working smoothly with future versions of macOS. Here’s what you can expect from this transition and the steps you can take to ensure that your spam filtering continues uninterrupted:
-
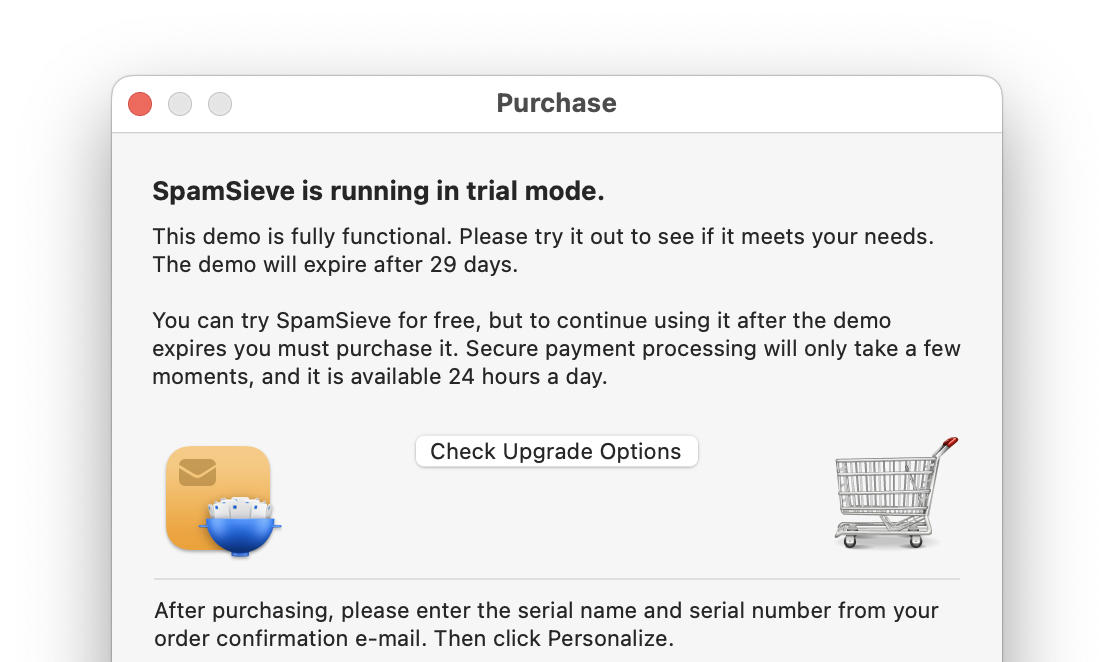
Update to SpamSieve 3. It’s best if you do this first, because the new version is better at helping you adjust the settings in Mail for Sonoma. This is a paid upgrade. It’s easiest if you install the new version of the app, let it import your SpamSieve 2 data, and then click the Check Upgrade Options button when prompted. That way you can get the upgrade discount without having to look up and enter your SpamSieve 2 serial number. However, it’s also possible to purchase the upgrade manually, and you can try it free for 30 days. We also recommend the SpamSieve 3 upgrade for customers who do not plan to update to Sonoma, as it includes many other enhancements. However, SpamSieve 2 will continue to work pre-Sonoma (or using mail clients other than Apple Mail on Sonoma). You can still download it, and if necessary you can downgrade from version 3 to version 2 just by replacing the app file.
-
You can continue using the Mail plug-in setup with SpamSieve 3 on macOS Ventura (in which case the Mail integration will work much the same as before) or switch to the Mail extension setup (in preparation for Sonoma). If you choose to do this, click the Uninstall Plug-In button in Settings ‣ Apple Mail ‣ Setup.
-
Update to macOS 14 Sonoma. Apple will make the update available in System Settings ‣ General ‣ Software Update on September 26. For most users, there is no need to update to Sonoma right away. However, if you want to do it on your own schedule, you should configure your Mac’s settings before September 26. Click the (i) button next to Automatic updates and turn off Automatically: Install macOS updates. That way you can click Update Now at the time of your choosing, instead of having Apple surprise you with an automatic update.

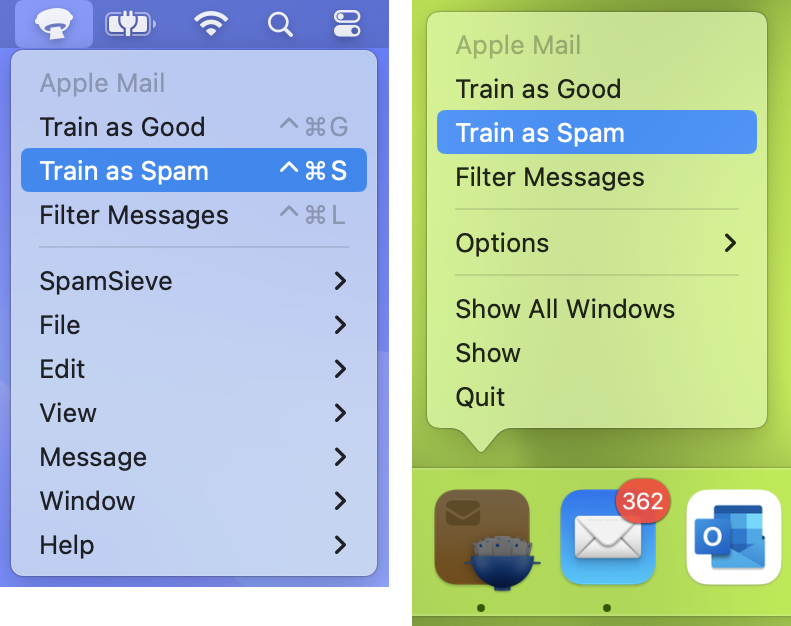
- The first time you launch SpamSieve on Sonoma, if you’re still using the Mail plug-in setup it will remind you to switch to the Mail extension setup. Mail will no longer load the SpamSieve plug-in, so the SpamSieve training commands will no longer appear in the Message menu in Mail. Instead, the training commands will be in the SpamSieve menu bar icon and in the SpamSieve Dock icon (if you click and hold).
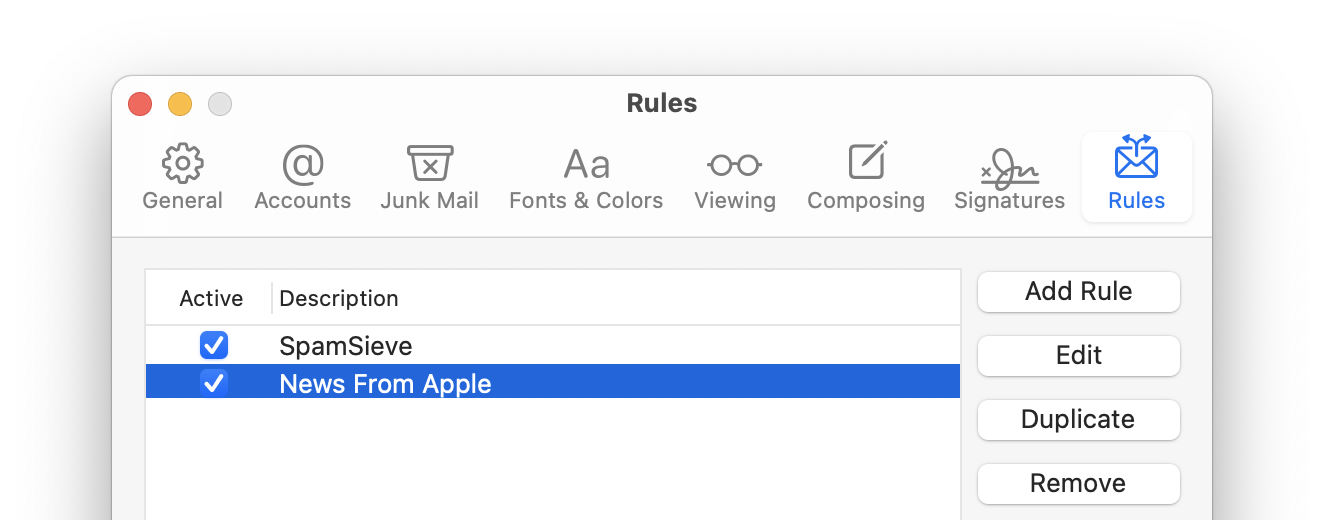
- SpamSieve will detect that the plug-in is not loaded and automatically deactivate any SpamSieve rules that you had in Mail, so that they don’t move messages to Junk without consulting SpamSieve. Still, you will probably want to delete the rules to avoid confusion. You can either do this manually or click the Uninstall Plug-In button in Settings ‣ Apple Mail ‣ Setup. (Exception: If you are using multiple Macs and still want to use the SpamSieve plug-in on another Mac with a previous version of macOS, leave the rule inactive instead of deleting it. Otherwise, if you deleted it on the Sonoma Mac, iCloud would sync the deletion to the other Mac.) This only applies to the Mail rules whose names begin with SpamSieve, i.e. the ones that interacted with the SpamSieve plug-in. If you had set up other rules related to SpamSieve, such as Rescue Good Messages SpamSieve or Remote Training, those will continue working and you can leave them as-is.
- Now you’ll want to complete the Mail extension setup, if you haven’t already done so. You can skip the initial training in Step 6 of those instructions because SpamSieve retains the same training data from the previous setup.
What’s Different With the Mail Extension
Spam Messages Go to the Junk Mailbox
With the Mail plug-in, you could choose where the incoming spam messages were moved. Initially, we recommended using a mailbox called Spam under On My Mac. More recently, we started recommending the special All Junk mailbox (which means the special Junk mailbox associated with the account that received the message). With Mail extensions, this is not configurable. It will always use the per-account Junk mailbox, rather than Spam or a custom mailbox name. There is a new option in SpamSieve 3 to move the more spammy messages directly to the Trash. And there are still settings to control where messages move when you train them, e.g. if you were not having trained messages move to Junk before but would now like to do that.
Message Background Colors
As before, messages are colored in the Junk mailbox according to how they were processed. Messages caught by a server junk filter and moved out of the inbox before they got to your Mac will have a white background and brown text:

Messages caught by SpamSieve will have a colored background according to how spammy they are:

Previously, SpamSieve would change the text color of such messages to black, to make it easier to read. With the Mail extension, this is no longer possible, so they will appear with brown text on the colored background.
Selecting Other Mailboxes to Filter
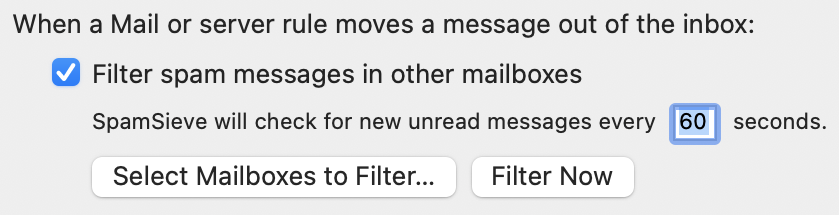
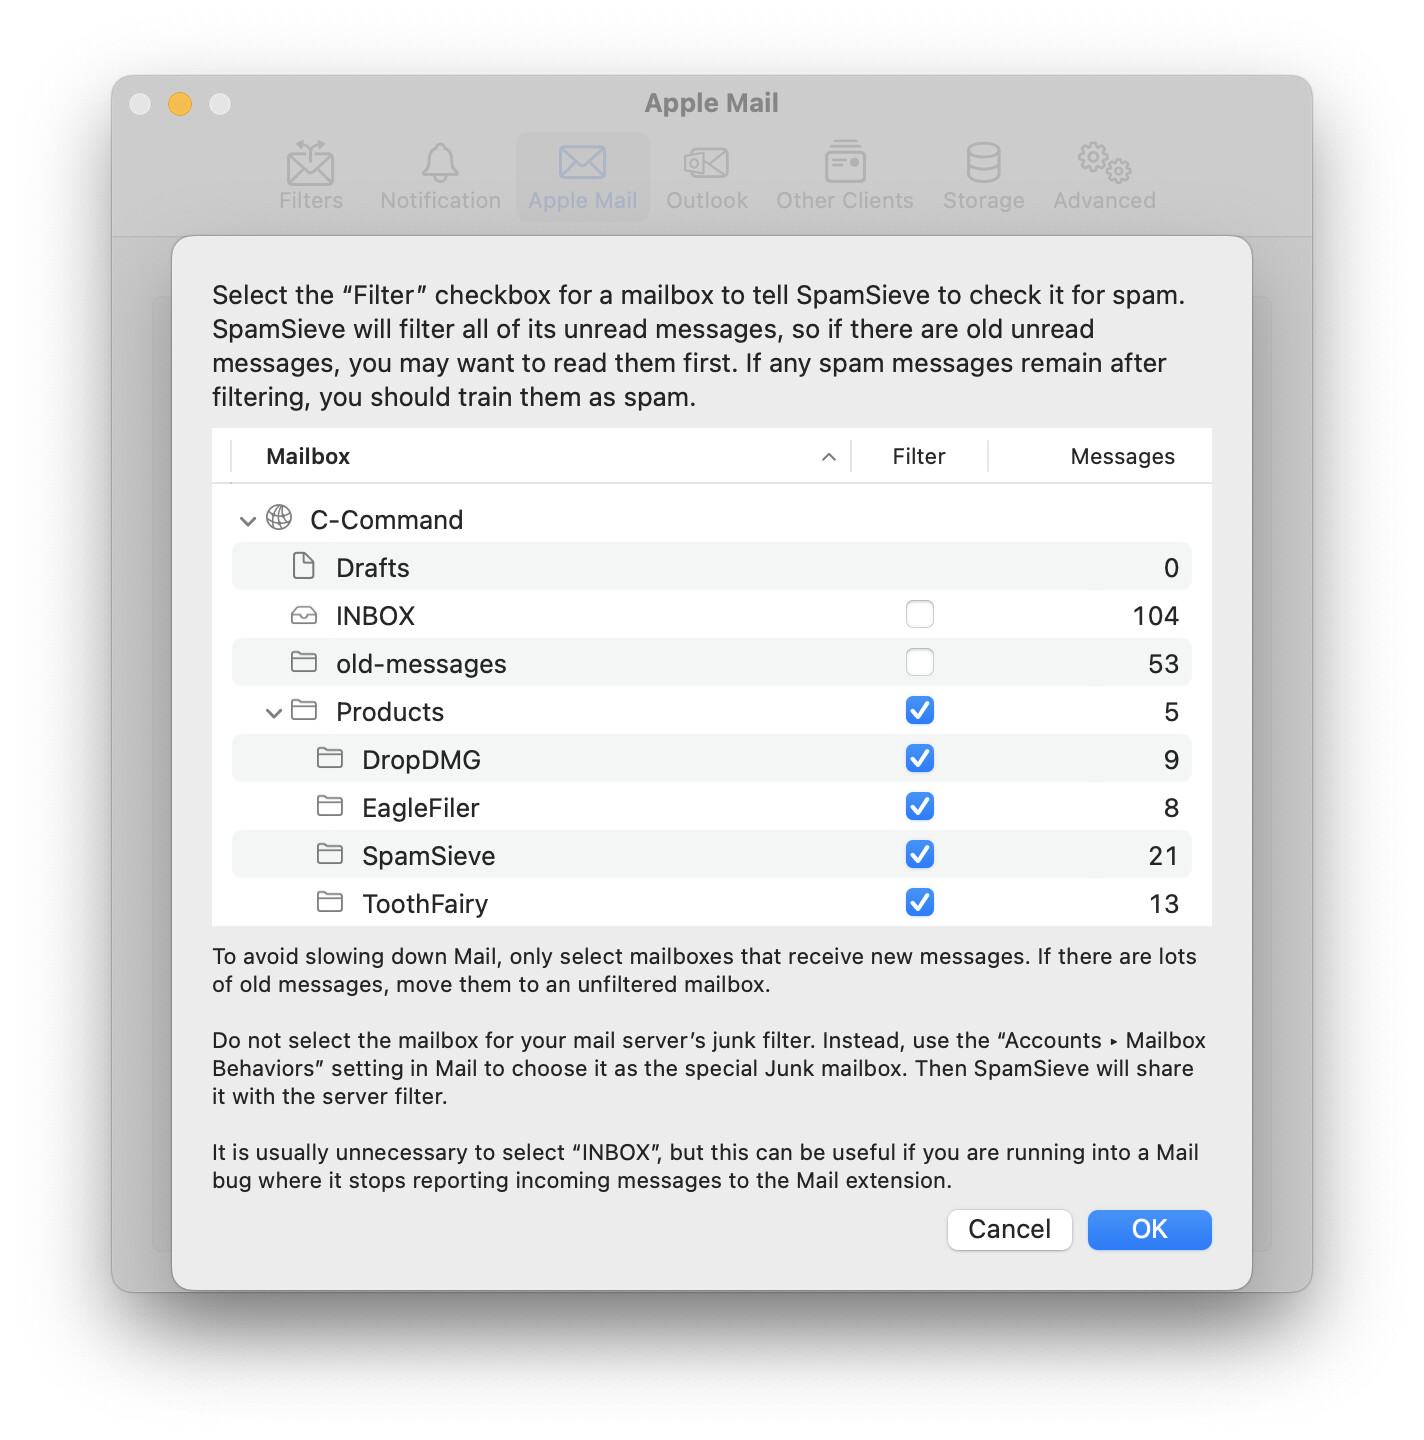
Mail only sends new messages to the extension if they remain in the inbox after processing your Mail rules. With the Mail plug-in, this was not a concern because the SpamSieve rule was at the top of the list, so it was applied first. Now, if you have Mail rules that file your messages into other mailboxes, those messages will not be checked by the extension for spam. Therefore, SpamSieve 3 adds a new Filter spam messages in other mailboxes feature that can filter such messages after they’ve been moved out of the inbox. This works both with rules in Mail and with rules that operate on the mail server before the messages get to Mail. You can click the Select Mailboxes to Filter… button to opt-in certain mailboxes for spam filtering. (You may want to exclude some mailboxes, e.g. to avoid the overhead of scanning lots of old, read messages that don’t need filtering, anyway. If a filtered mailbox includes lots of old messages, you can archive them to an unfiltered mailbox to speed up SpamSieve’s scanning.)
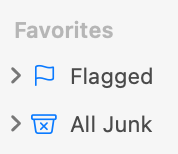
A Green Flag Means SpamSieve Thinks the Message Is Good
In summary, the Mail extension filters new messages in the inbox (immediately after Mail downloads them) and Filter spam messages in other mailboxes handles new messages in other mailboxes (shortly after Mail downloads them). You can choose how frequently SpamSieve scans the other mailboxes. If you receive lots of new messages and spend a lot of time in Mail, you may see a new message that’s filed outside of the inbox before SpamSieve sees it. If the message is spam, it may not be clear whether you are seeing it there because SpamSieve made a mistake and thought it was good or simply because SpamSieve hadn’t had a chance to examine it yet. The new Add green flag to unread good messages option lets you choose to have SpamSieve mark messages that it has checked with a green flag. Messages with no flag are pending processing; they are not mistakes and do not need to be trained as spam. After you read a message, SpamSieve automatically removes the green flag.
If the Inbox Doesn’t Filter
In rare cases, a macOS bug can prevent Mail from sending new inbox messages to the extension, so that spam messages collect in the inbox without SpamSieve having looked at them. SpamSieve 3.0.1 adds the Check inboxes for new messages not sent to Mail extension feature to work around this bug.